How to Alphabetize Bookmarks in Chrome
Bookmarks are your digital shortcuts to the websites you love or need to revisit often. Over time, though, they can pile up and become messy, making it hard to find what you’re looking for. A well-organized bookmark list saves time and keeps your browsing stress-free. One of the best ways to tidy up is to alphabetize your bookmarks, putting them in a logical order that’s easy to navigate.
In this guide, I’ll show you exactly how to alphabetize bookmarks in Chrome, step by step. Whether you’re organizing a few links or a massive collection, these methods will help you quickly bring order to chaos. By the end of this article, you’ll have a clean and efficient system for managing your Chrome bookmarks.
Why Alphabetizing Bookmarks Makes a Difference
Before we dive into the how-to, let’s quickly talk about why alphabetizing your bookmarks is worth the effort.
Simplicity and Speed
When your bookmarks are alphabetized, you don’t have to scroll endlessly to find a specific link. It’s like organizing a bookshelf—titles in alphabetical order make browsing much faster.
Easy Maintenance
Alphabetized lists are easier to update. When you add a new bookmark, you know exactly where it should go without overthinking.
Better Productivity
A clean and organized list can improve your workflow, especially if you rely on bookmarks for work or research.
How to Alphabetize Bookmarks Manually in Chrome
Chrome doesn’t offer a built-in option to sort bookmarks alphabetically, but don’t worry. You can still do it manually in just a few steps.
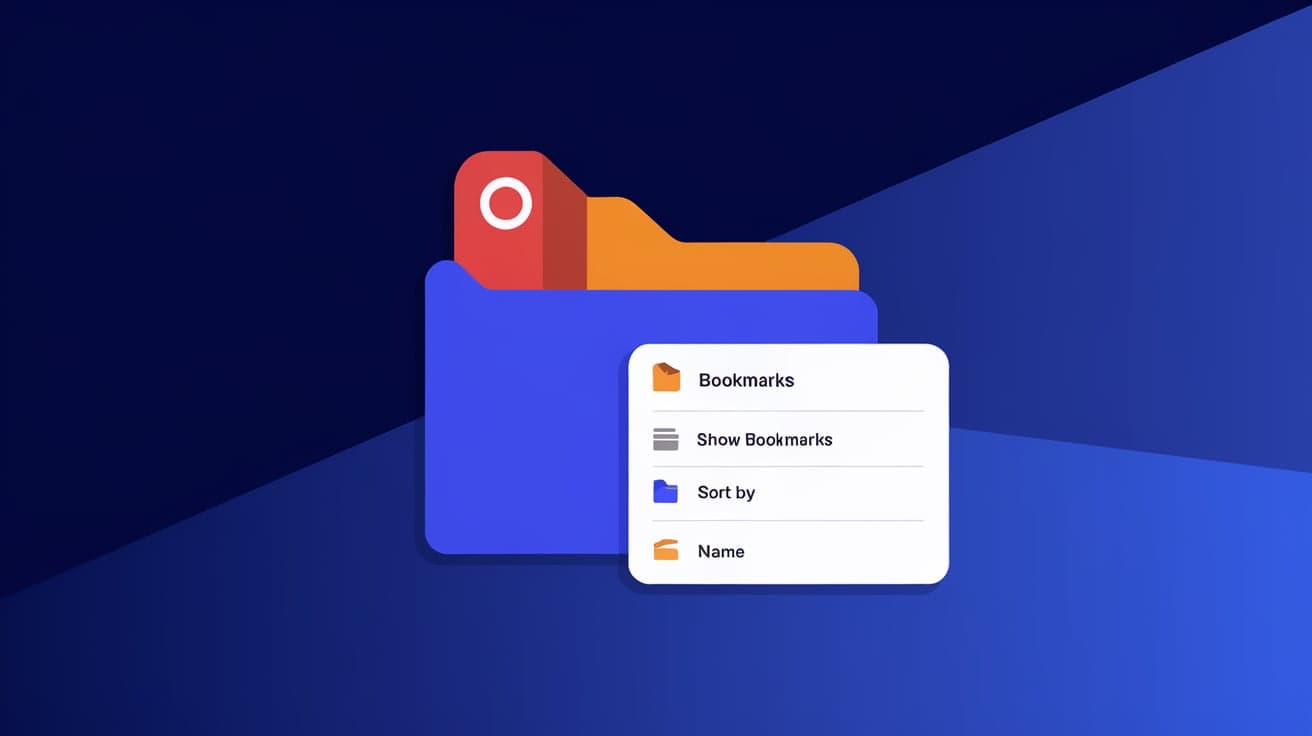
Step 1: Open the Bookmark Manager
Open Chrome and click the three-dot menu in the top-right corner.
Navigate to Bookmarks > Bookmark Manager.
Alternatively, you can press Ctrl + Shift + O (Windows) or Command + Option + B (Mac) to open the Bookmark Manager directly.
Step 2: Select the Folder to Organize
In the Bookmark Manager, you’ll see all your folders and bookmarks. Click on the folder you want to alphabetize. If your bookmarks are not in folders, start with the main list.
Step 3: Drag and Drop to Rearrange
Hover over a bookmark.
Click and hold the bookmark, then drag it to its correct position alphabetically.
Repeat until all the bookmarks are in order.
This process can be time-consuming if you have many bookmarks, but it’s straightforward and gives you complete control over the arrangement.
How to Alphabetize Bookmarks Automatically with Extensions
If you don’t have the patience to arrange bookmarks manually, Chrome extensions can do the heavy lifting for you.
Recommended Extensions for Bookmark Sorting
Bookmark Manager and Viewer
This extension offers a simple way to sort bookmarks alphabetically with one click.
After installing, click the extension icon and select Sort Alphabetically.
SuperSorter
SuperSorter is a popular tool for managing bookmarks. It can alphabetize, remove duplicates, and sort folders.
Install it from the Chrome Web Store, open the extension, and choose the sort option.
How to Use an Extension
Open the Chrome Web Store and search for the extension you want to use.
Click Add to Chrome and follow the prompts to install it.
Once installed, access the extension from the toolbar and follow its instructions to sort your bookmarks alphabetically.
Using extensions saves time and effort, especially if you have a large bookmark library.
Organizing Bookmarks with Folders
If your bookmarks are all over the place, consider organizing them into folders before alphabetizing. This makes the process much more manageable.
Step 1: Create Folders
In the Bookmark Manager, click the three-dot menu in the top-right corner.
Select Add new folder.
Name the folder based on categories like “Work,” “Shopping,” or “Travel.”
Step 2: Move Bookmarks into Folders
Drag and drop bookmarks into the appropriate folders.
Repeat until all bookmarks are sorted into categories.
Step 3: Alphabetize Within Each Folder
Follow the steps above to manually or automatically sort bookmarks inside each folder.
This two-step process keeps your bookmark list clean and easy to navigate, even before alphabetizing.
Syncing Bookmarks Across Devices
Once you’ve organized your bookmarks, you’ll want to keep them synced across all your devices. Chrome makes this simple with its built-in sync feature.
How to Enable Sync
Open Chrome and click on your profile picture in the top-right corner.
Select Turn on sync (if it’s not already enabled).
Sign in with your Google account.
With sync enabled, your newly alphabetized bookmarks will appear the same on your phone, tablet, and other devices.
Summary
Keeping your bookmarks alphabetized in Chrome might seem like a small task, but it makes a big difference in how smoothly you browse. You can arrange bookmarks manually for precise control or use extensions to save time. If your bookmarks are scattered, start by organizing them into folders, then sort each folder alphabetically.
By taking a few minutes to clean up your bookmarks, you’ll save time and frustration in the long run. And with Chrome’s sync feature, your well-organized list will follow you wherever you go.
FAQs
How do I sort bookmarks alphabetically in Chrome without extensions?
You can manually alphabetize bookmarks in Chrome using the Bookmark Manager. Drag and drop each bookmark into the correct order within its folder.
Does Chrome have a built-in feature to alphabetize bookmarks?
No, Chrome doesn’t offer a direct option to alphabetize bookmarks. However, you can use extensions like SuperSorter or organize them manually in the Bookmark Manager.
Can I sort bookmarks on my phone?
Currently, Chrome mobile doesn’t allow you to sort bookmarks. You’ll need to organize them on a desktop, and changes will sync to your phone if sync is enabled.
What happens if I delete duplicate bookmarks while sorting?
Deleting duplicates during sorting can help declutter your list and make it easier to navigate. Tools like SuperSorter can automatically remove duplicates for you.
Are there any risks to using bookmark-sorting extensions?
Extensions from trusted sources, like the Chrome Web Store, are generally safe. However, always check reviews and permissions before installing to ensure they don’t access sensitive data.
Also read -
how to get out of incognito mode on ipad chrome